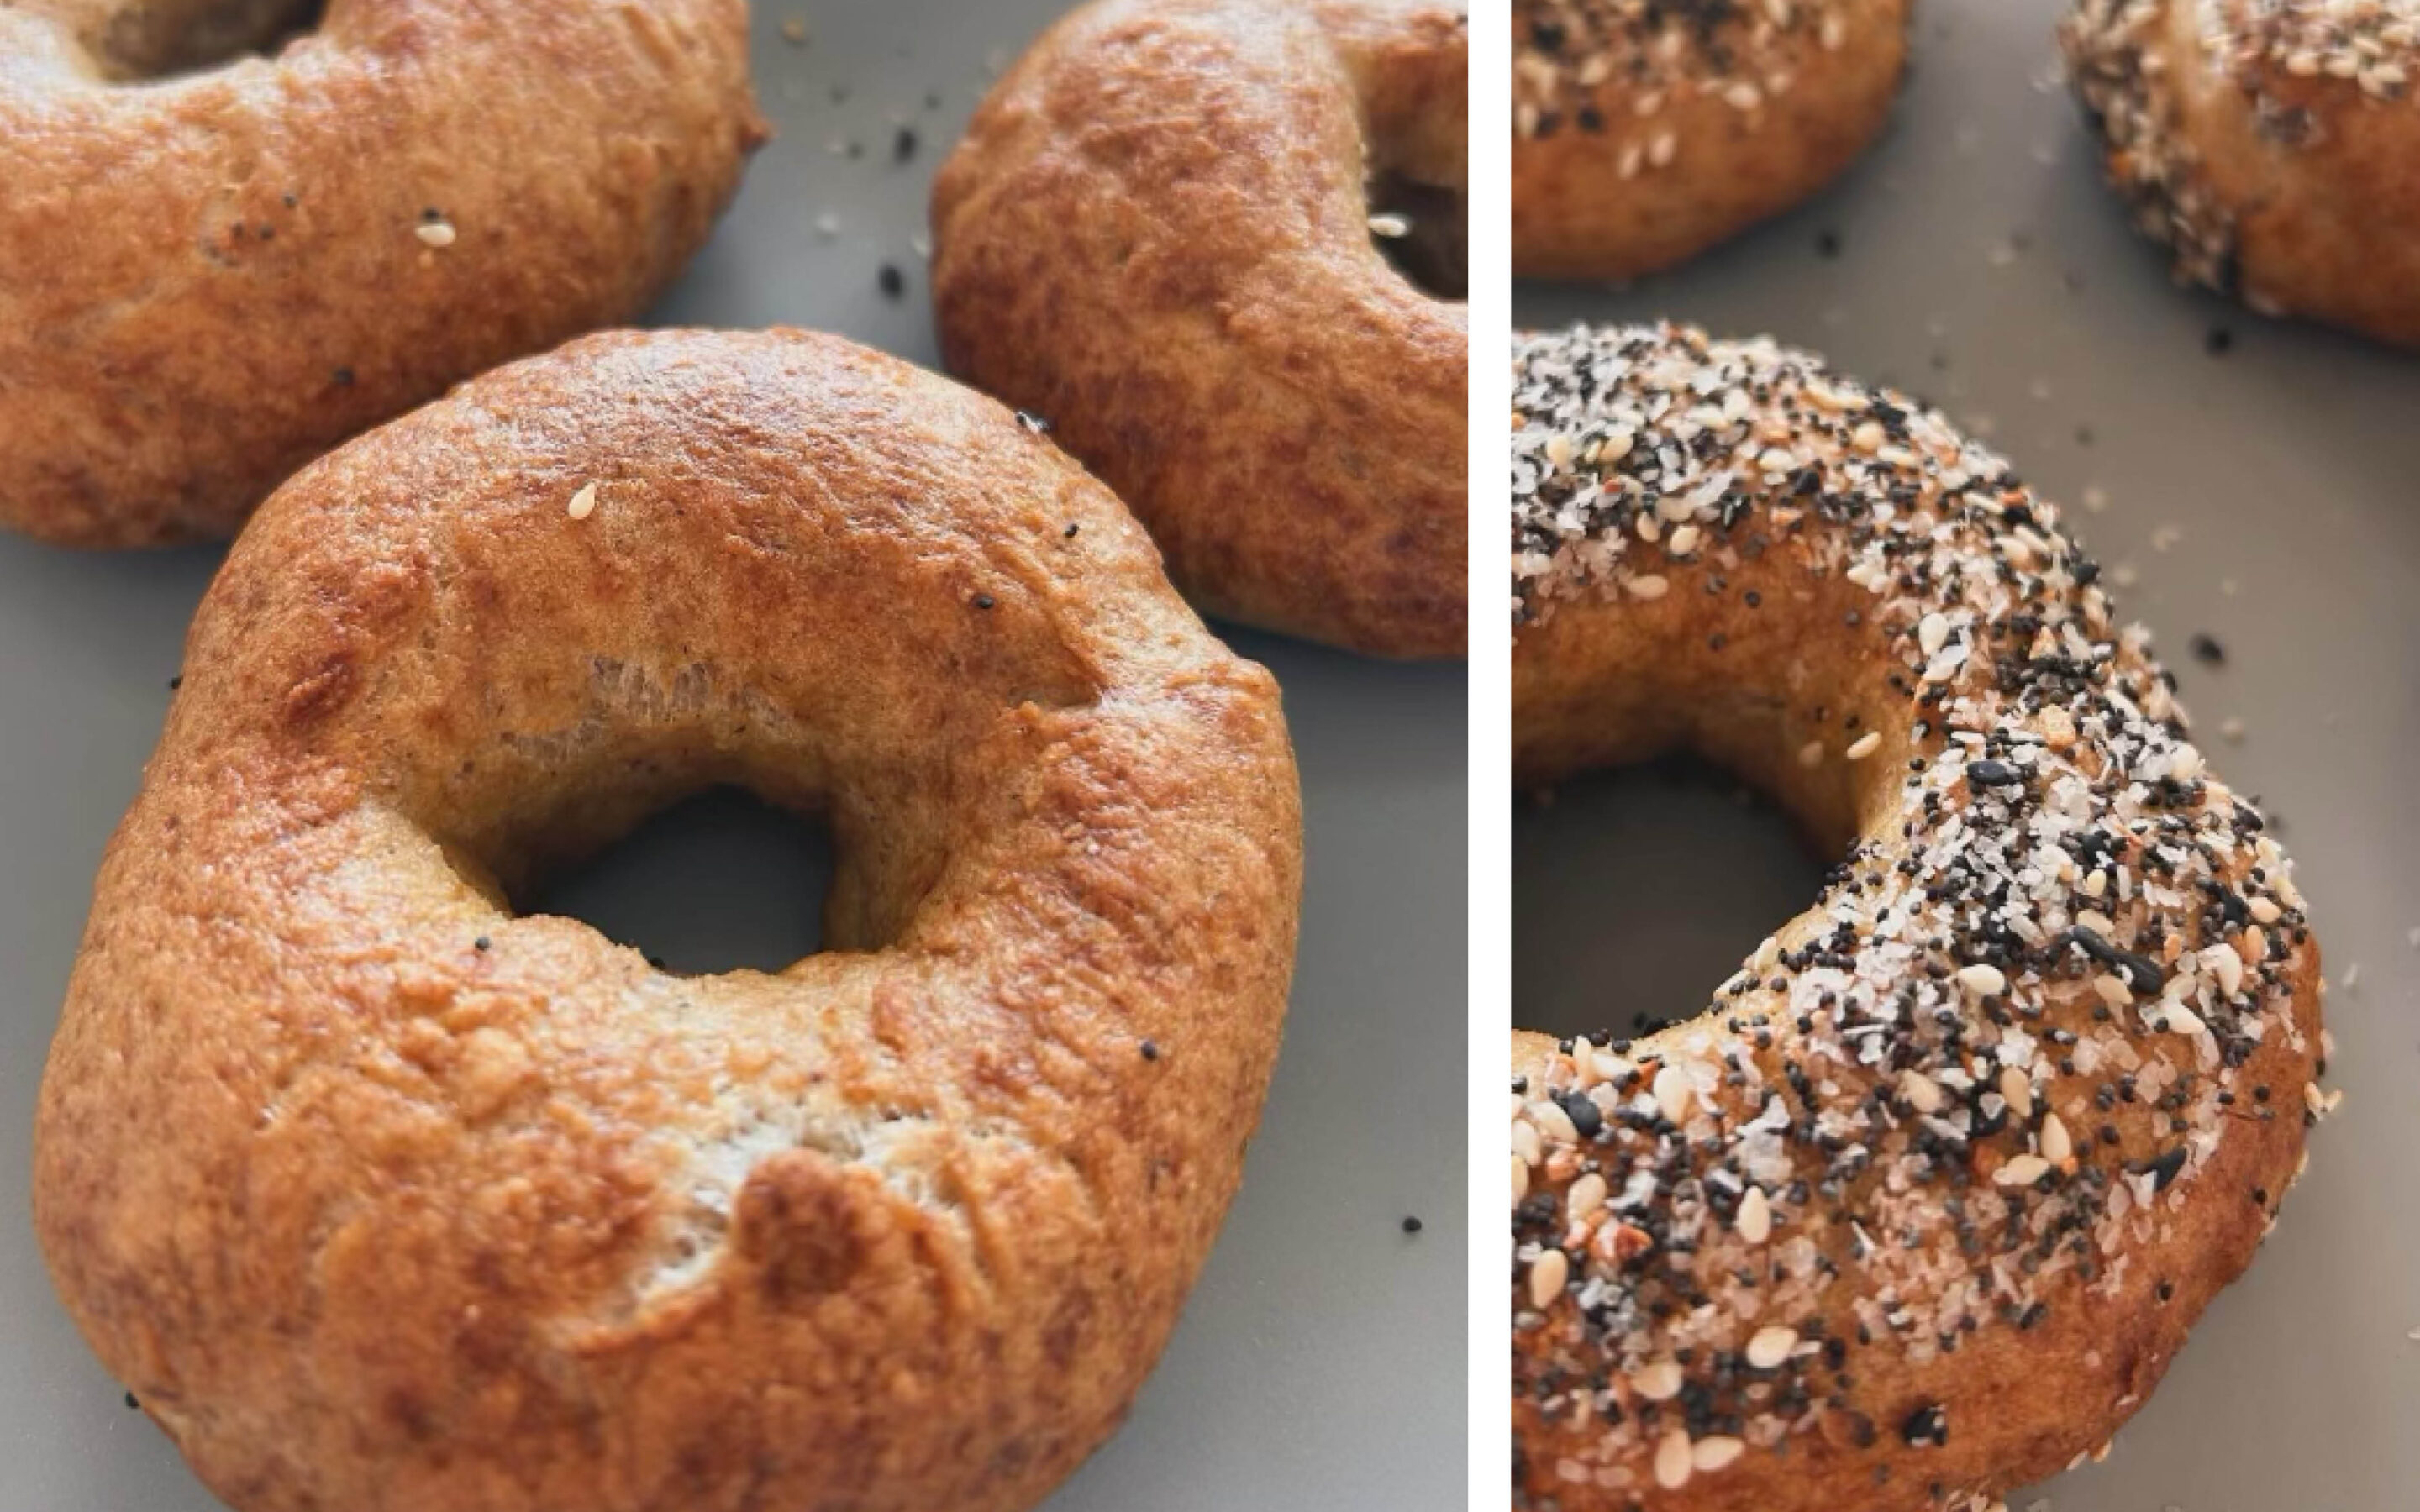
Easy Gluten-Free Sourdough Bagels with King Arthur Flour
Just three months ago, the idea of waking up early on a Saturday to make gluten-free sourdough bagels for the entire week would have seemed laughable. I am the “to taste” cook in the house, and baking isn’t my forte, especially with gluten-free recipes where precision matters. However, after many kitchen mishaps and encouragement from my husband (who is a really good baker) to actually weigh my ingredients, I have resolved to embrace the kitchen scale and accuracy. This has led to our family’s newfound favorite: gluten-free sourdough bagels.
Gluten-free sourdough bagels are surprisingly simple and forgiving, unlike traditional gluten-free bread. They freeze well, making them an ideal grab-and-go breakfast option for hectic mornings.
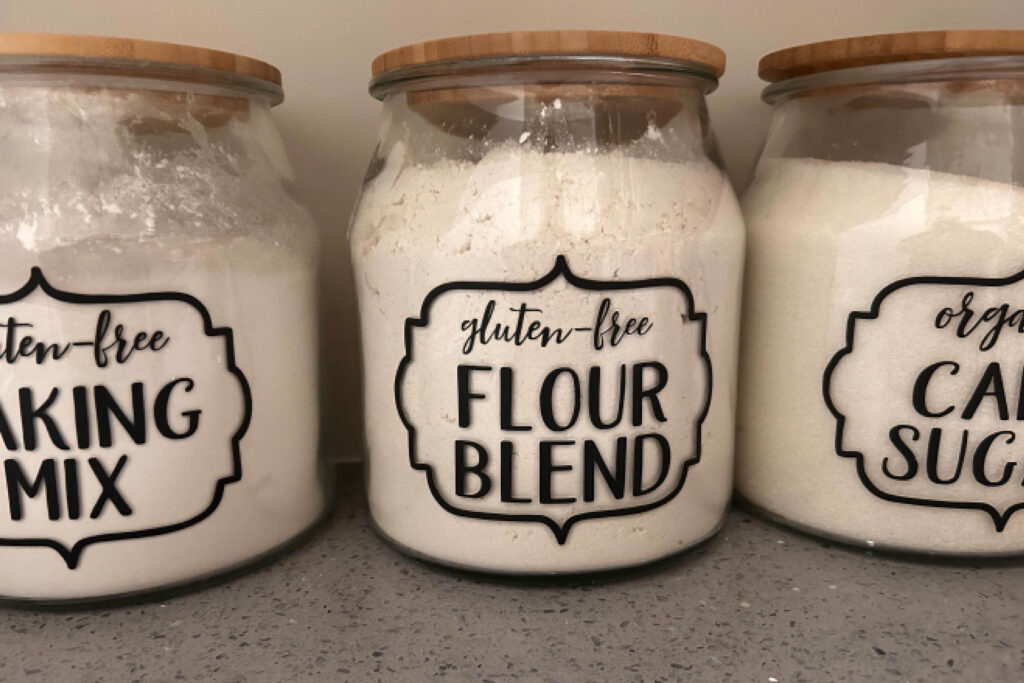
When it comes to flour, I prefer the King Arthur Gluten-Free Flour blend. However, other measure-for-measure flours can work too, though adjustments in water might be necessary. Initially, I incorporate a base amount of water and fine-tune the consistency during the final kneading, accounting for variations in the density of the sourdough starter.
SOURDOUGH STARTER:
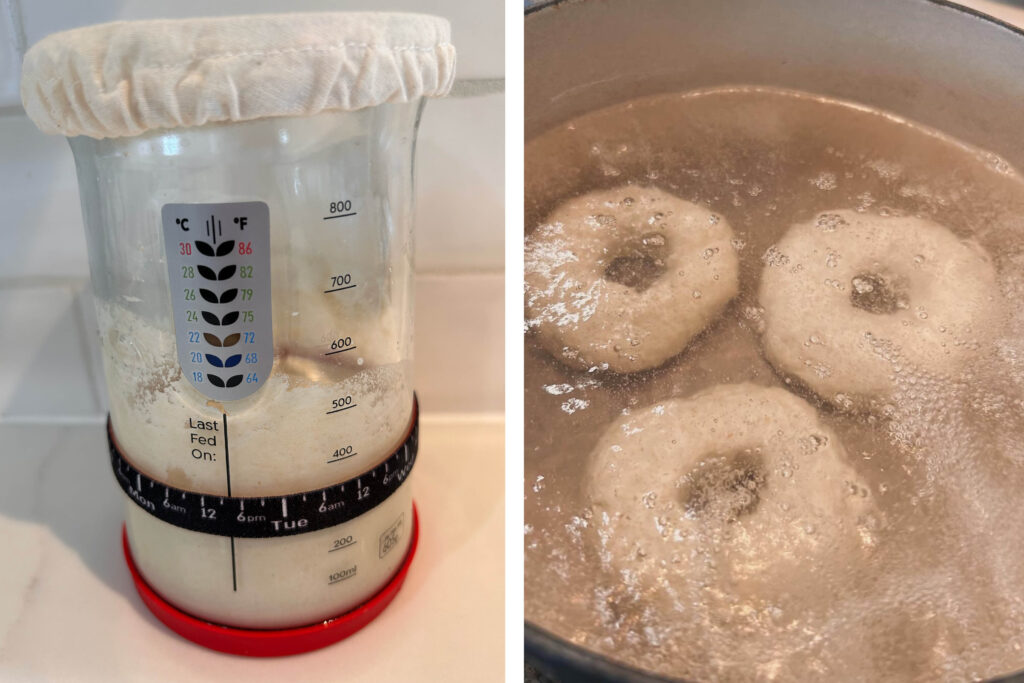
Our starter originates from the Cultures for Health Gluten-Free Sourdough Starter and thrives on regular feedings of organic brown rice flour. While you don’t need anything fancy to start a sourdough culture, investing in a fermenting/feeding jar can make the process more enjoyable. Since this bagel recipe calls for a generous amount of starter, I ensure it’s well-fed in the days leading up to baking day.
With these simple steps and a bit of patience, you’ll soon be savoring delicious gluten-free sourdough bagels that rival their wheat-based counterparts.
EASY GLUTEN FREE SOURDOUGH BAGELS
Makes 16 Bagels
INGREDIENTS
- 660 grams of water + 120 grams (reserved for kneading)
- 45 grams of psyllium husk fiber
- 40 grams of avocado oil
- 36 grams of organic cane sugar (may use honey)
- 400 grams of active sourdough starter
- 700 grams of King Arthur Gluten-Free Flour Blend
- 12 grams – sea salt
- Additional toppings as desired (we like Everything but the Bagel Seasoning
WATER BATH
- 6 cups of water
- 1 ½ T. baking soda
INSTRUCTIONS
- In a large bowl, combine psyllium husk, sugar, avocado oil, and 660 grams of water. Whisk until well combined and let stand for a few minutes until it forms into a gel.
- Into the gel mixture, add the sourdough starter and mix thoroughly.
- Add the remaining dry ingredients (flour blend + salt) and stir until a ball starts to form. Use your hands to mix/knead and slowly add in the reserved water until all the flour is incorporated and the dough pulls away from the bowl walls.
- Cover the dough with a kitchen towel and let it rise at room temperature for a minimum of 2-3 hours, or overnight for optimal results.
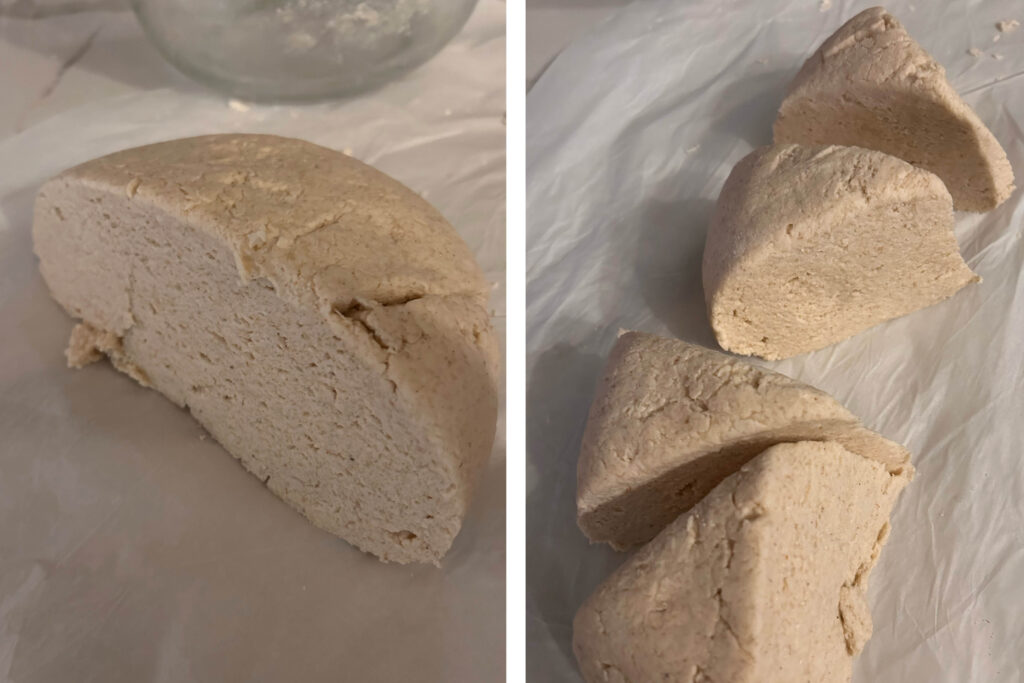
- Place the risen dough on a silicon or parchment paper surface and gently work it into a large ball.
- Using a knife, divide the ball in half and create 8 wedges from each section.
- Roll each section into a ball and pinch a hole in the center of each ball. Slowly spin the dough on your finger to create a uniform bagel shape and center hole. Be mindful not to make the holes too large, as the bagels may crack during baking.
- Set the prepared dough aside and preheat your oven to 430 degrees F.
- In a stockpot, bring 6 cups of water and 1 ½ tablespoons of baking soda to a boil.
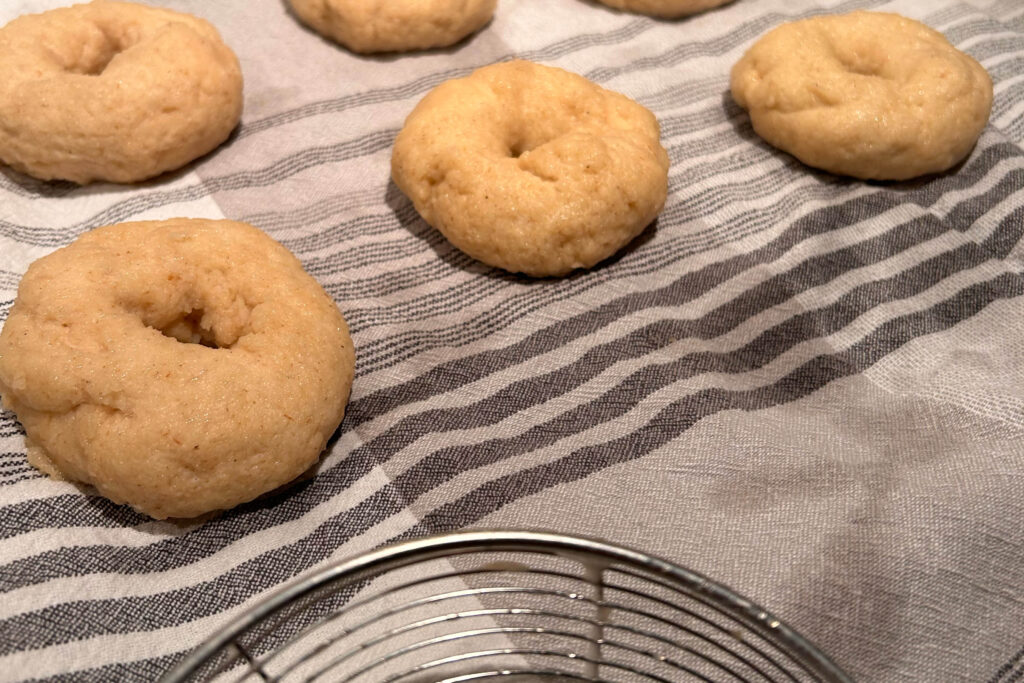
- Drop 3-4 bagels into the boiling water and boil for 30 seconds on each side. Use a skimmer to flip and remove them from the pot. Place the boiled bagels on a tea towel until all the bagels have been boiled.
- Top each bagel with seasoning of choice or leave plain.
- Place the bagels on a baking sheet and bake for 30 minutes. You may need to use parchment paper to prevent sticking. (Caraway baking sheets are my favorite and I highly recommend them, because nothing sticks to them).
ADDITIONAL TIPS
- If you are planning on freezing – slice beforehand 😉
- Use a digital scale (it really does make a difference)
- This is a larger batch recipe, you could easily cut it in half and only make 8 bagels.
Enjoy your freshly baked gluten-free sourdough bagels!
This recipe was originally inspired by a combination of bread recipes with King Arthur gluten free flours and Natashahome.com’s sourdough discard recipe.