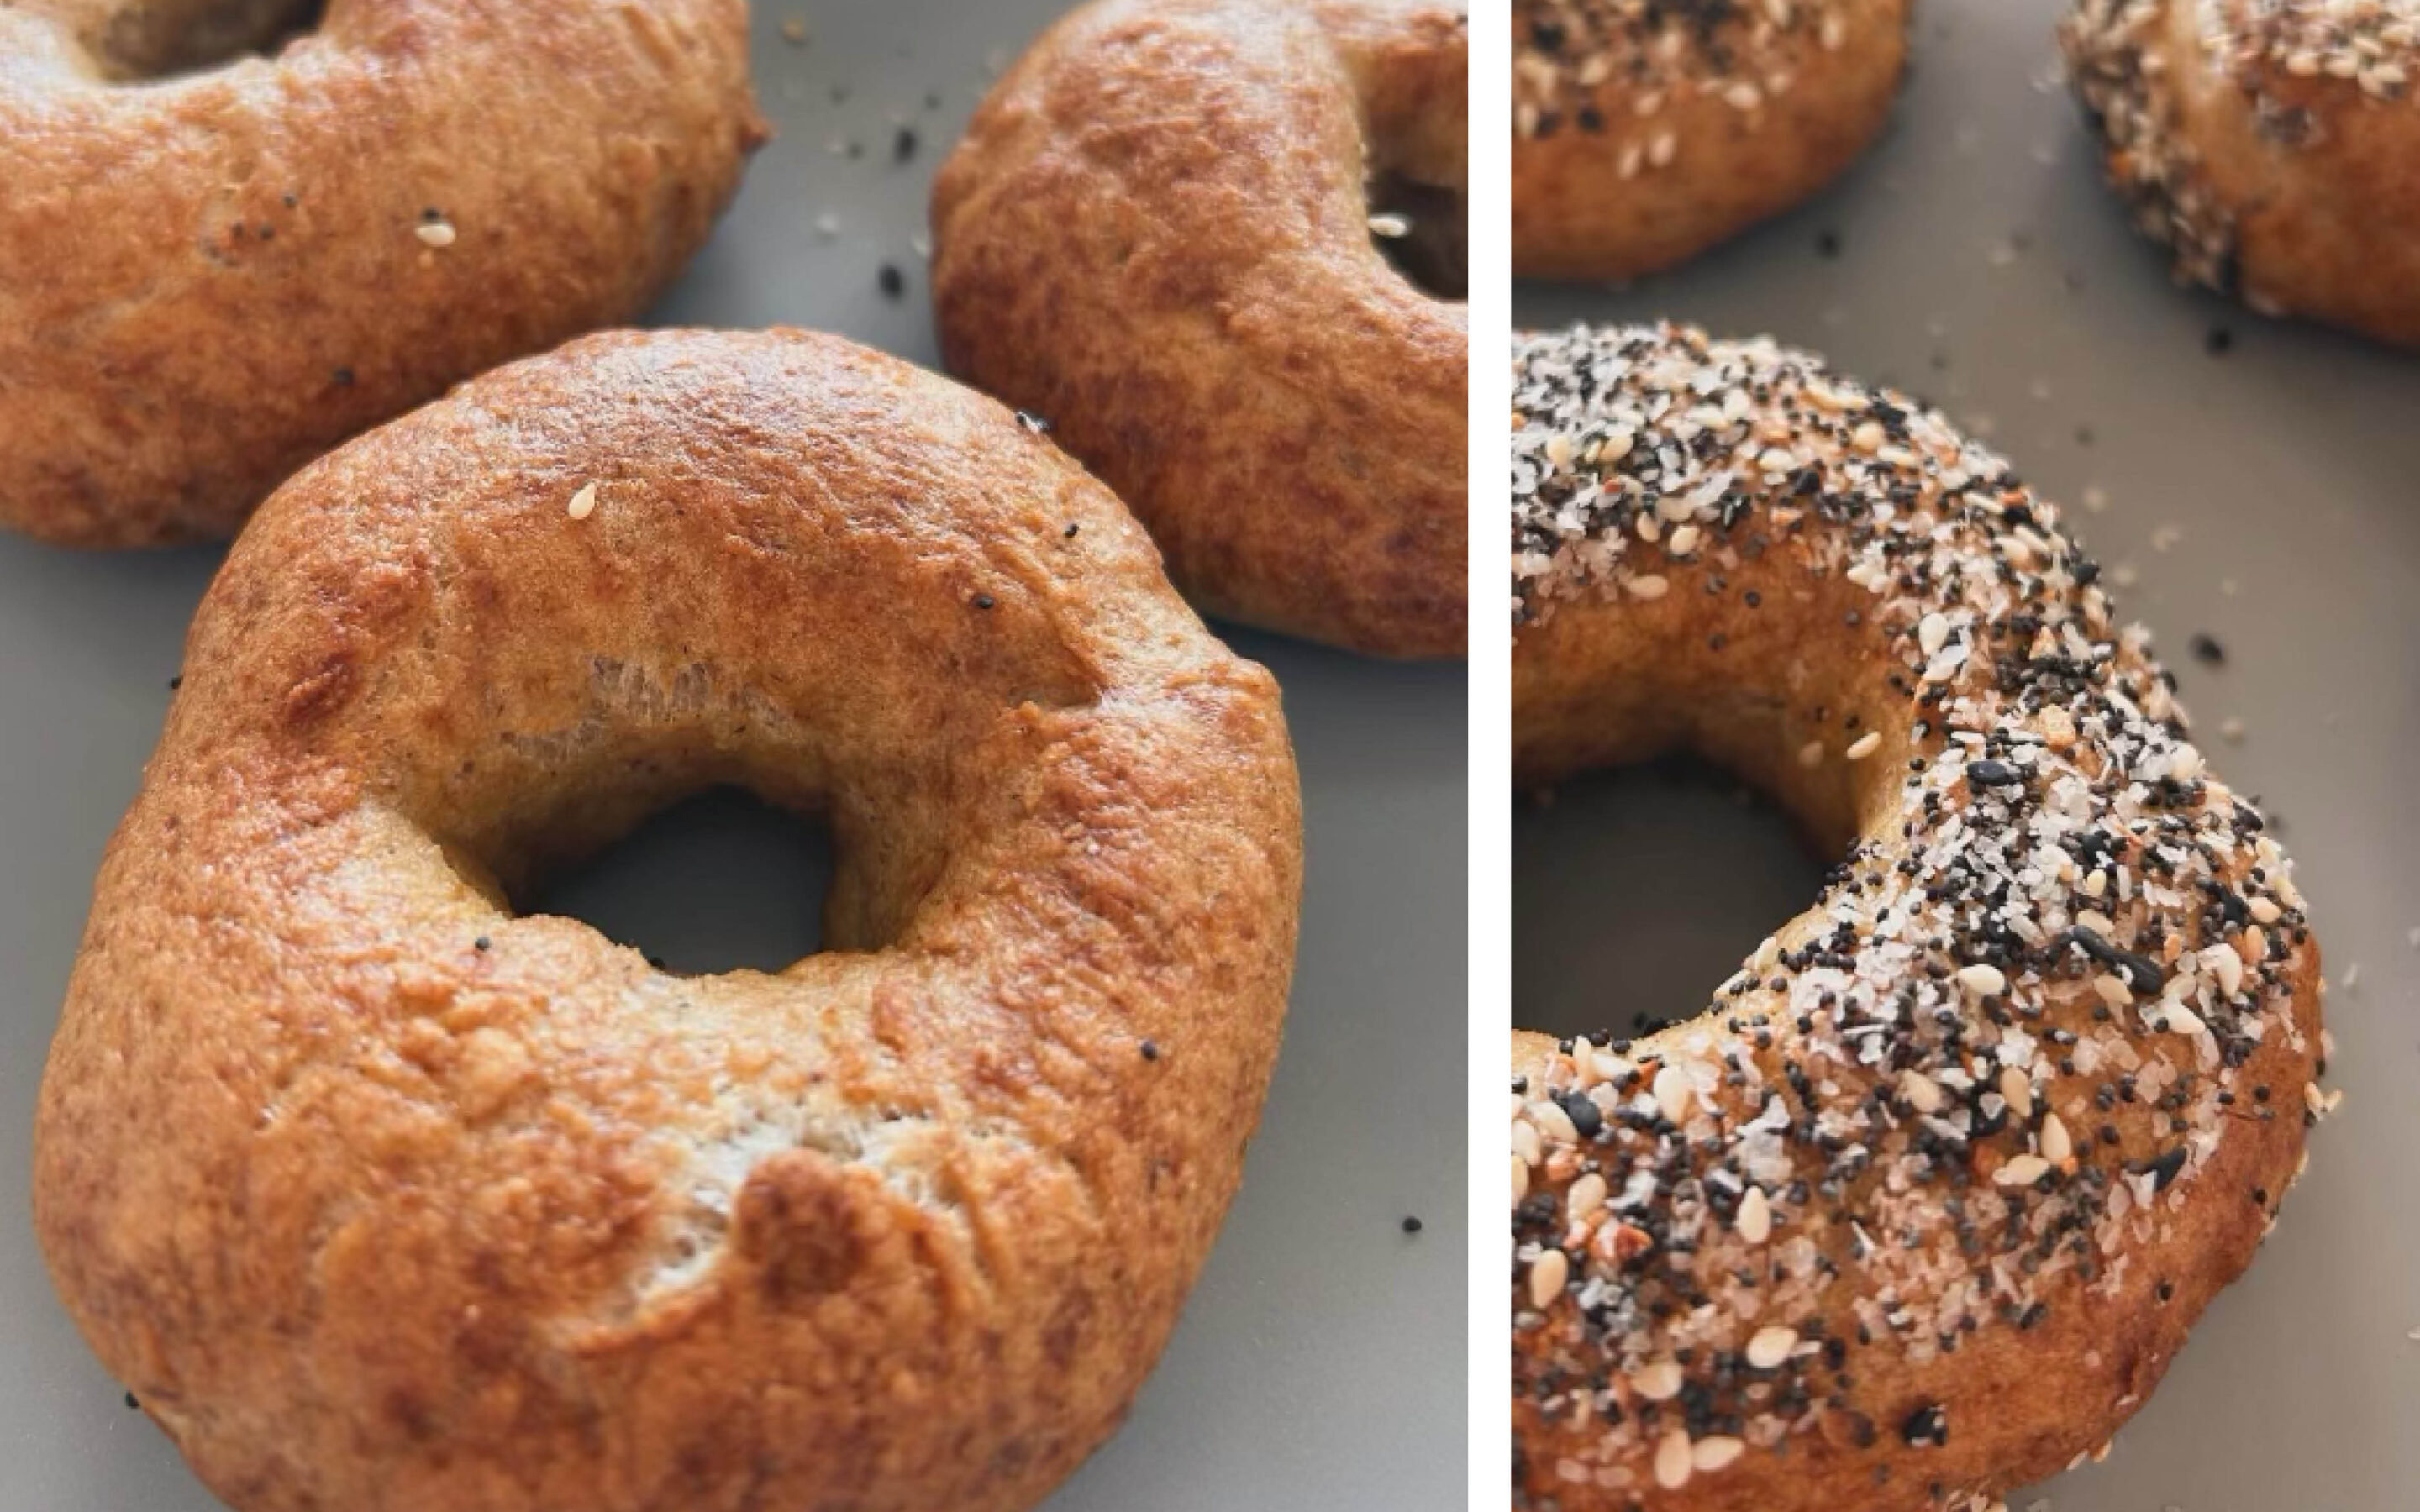
Just three months ago, the idea of waking up early on a Saturday to make gluten-free sourdough bagels for the entire week would have seemed laughable. I am the “to taste” cook in the house, and baking isn’t my forte, especially with gluten-free recipes where precision matters. However, after many kitchen mishaps and encouragement from my husband (who is a really good baker) to actually weigh my ingredients, I have resolved to embrace the kitchen scale and accuracy. This has led to our family’s newfound favorite: gluten-free sourdough bagels.
Gluten-free sourdough bagels are surprisingly simple and forgiving, unlike traditional gluten-free bread. They freeze well, making them an ideal grab-and-go breakfast option for hectic mornings.
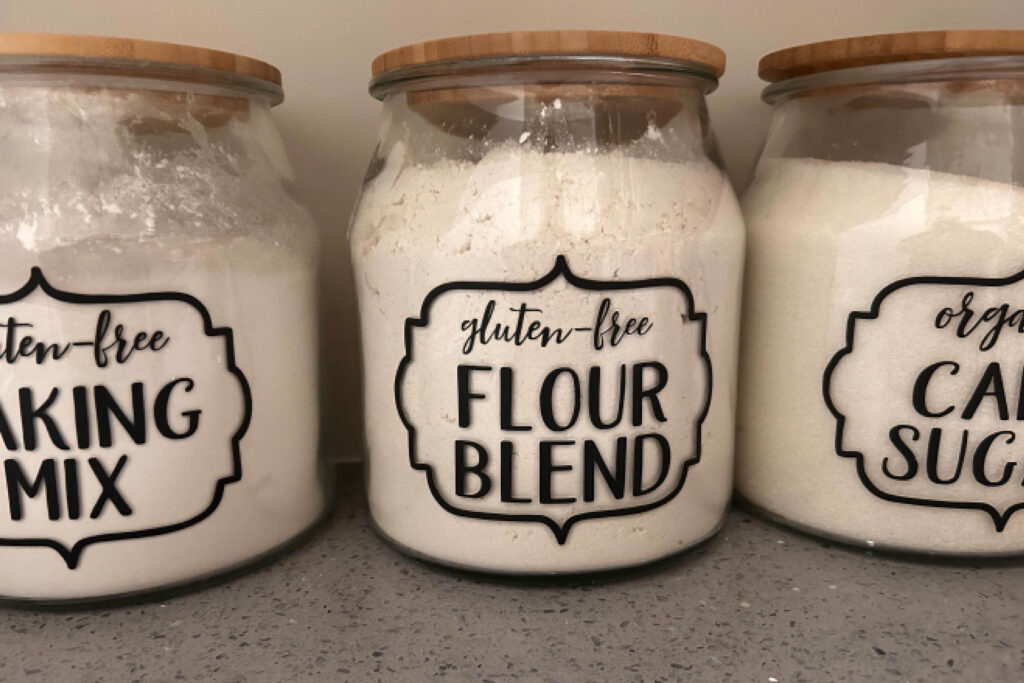
When it comes to flour, I prefer theKing Arthur Gluten-Free Flour blend. However, other measure-for-measure flours can work too, though adjustments in water might be necessary. Initially, I incorporate a base amount of water and fine-tune the consistency during the final kneading, accounting for variations in the density of the sourdough starter.
SOURDOUGH STARTER:
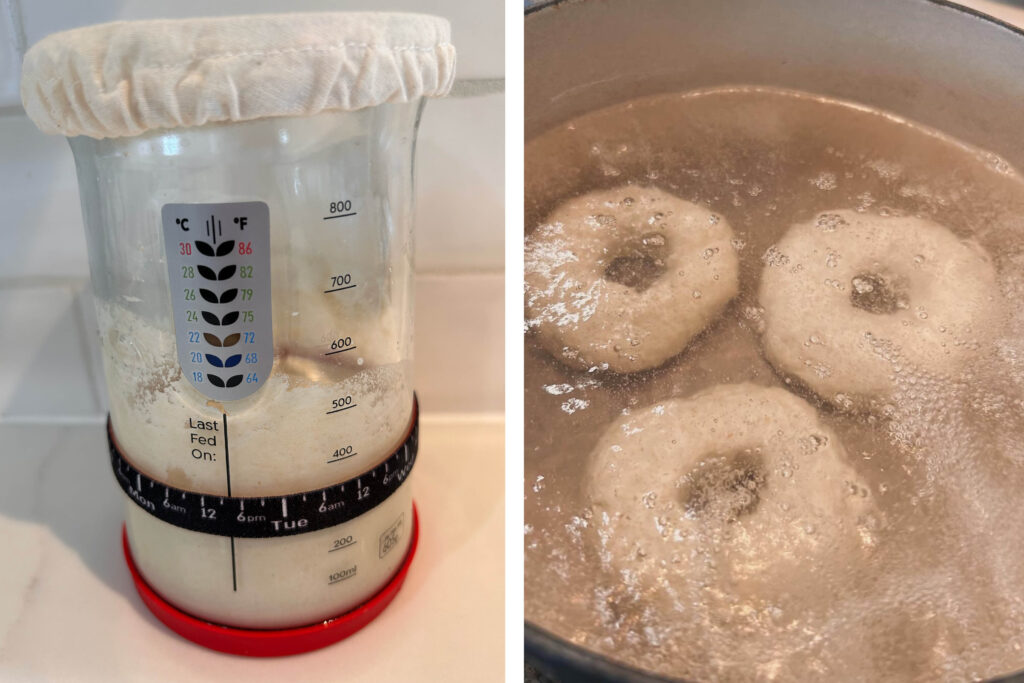
Our starter originates from theCultures for Health Gluten-Free Sourdough Starterand thrives on regular feedings oforganic brown rice flour. While you don’t need anything fancy to start a sourdough culture, investing in afermenting/feeding jarcan make the process more enjoyable. Since this bagel recipe calls for a generous amount of starter, I ensure it’s well-fed in the days leading up to baking day.
With these simple steps and a bit of patience, you’ll soon be savoring delicious gluten-free sourdough bagels that rival their wheat-based counterparts.
Easy Gluten-Free Sourdough Bagels with King Arthur Flour
AuthorThe Sprouted Life
Prep3 hrs, 15 mins
Cook30 mins
Total3 hrs, 45 mins
StyleGluten-free, Sourdough, Baked Goods
CuisineAmerican
Servings 16
This is a description of the recipe.
Ingredients
660gramsFiltered water+ 120 grams (reserved for kneading)
45gramsPsyllium husk fiber
40gramsAvocado oil
36gramsOrganic cane sugar - may use honey as a substitute
400gramsGluten-free active sourdough starter
700gramsKing Arthur gluten-free flour blend
12gramsCeltic sea salt
Everything but the bagel seasoning - Additional toppings as desired
6 cupsFiltered water- for water bath
1 1/2TbspBaking Soda- for water bath
Method
MAKING THE DOUGH
In a large bowl, combine psyllium husk, sugar, avocado oil, and 660 grams of water. Whisk until well combined and let stand for a few minutes until it forms into a gel. Into the gel mixture, add the sourdough starter and mix thoroughly.
Add the remaining dry ingredients (flour blend + salt) and stir until a ball starts to form. Use your hands to mix/knead and slowly add in the reserved water until all the flour is incorporated and the dough pulls away from the bowl walls.
Cover the dough with a kitchen towel and let it rise at room temperature for a minimum of 2-3 hours, or overnight for optimal results.
Place the risen dough on a silicon or parchment paper surface and gently work it into a large ball.
Using a knife, divide the ball in half and create 8 wedges from each section.
Roll each section into a ball and pinch a hole in the center of each ball. Slowly spin the dough on your finger to create a uniform bagel shape and center hole. Be mindful not to make the holes too large, as the bagels may crack during baking.
BOILING & BAKING
Set the prepared dough aside and preheat your oven to 430 degrees F.
In a stockpot, bring 6 cups of water and 1 ½ tablespoons of baking soda to a boil.
Drop 3-4 bagels into the boiling water and boil for 30 seconds on each side. Use a skimmer to flip and remove them from the pot. Place the boiled bagels on a tea towel until all the bagels have been boiled.
Top each bagel with seasoning of choice or leave plain.
Place the bagels on a baking sheet and bake for 30 minutes. You may need to use parchment paper to prevent sticking. (Caraway baking sheets are my favorite and I highly recommend them, because nothing sticks to them).
Recipe Notes
Use a digital scale (it really does make a difference)
This is a larger batch recipe, you could easily cut it in half and only make 8 bagels
This recipe was originally inspired by a combination of bread recipes with King Arthur gluten free flours and Natashahome.com’s sourdough discard recipe.
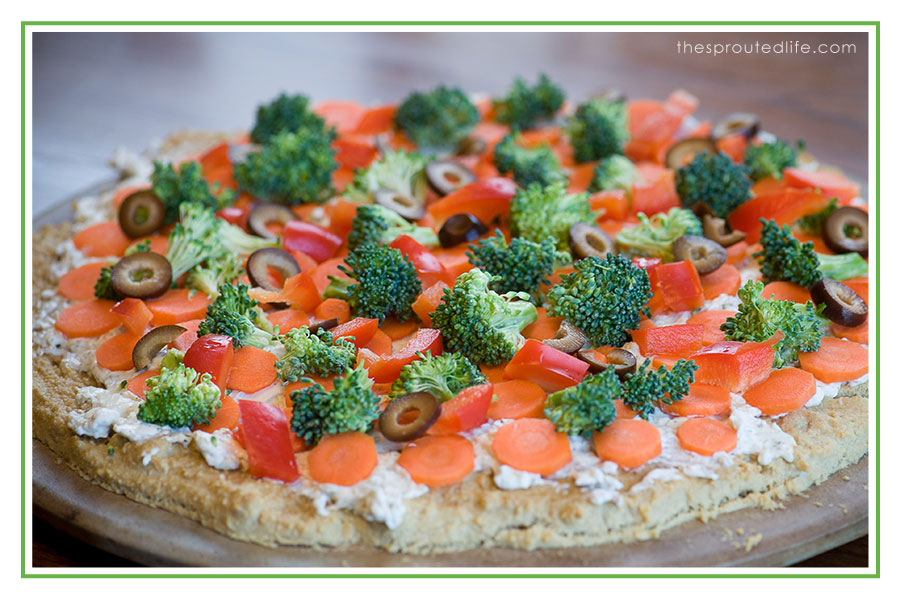
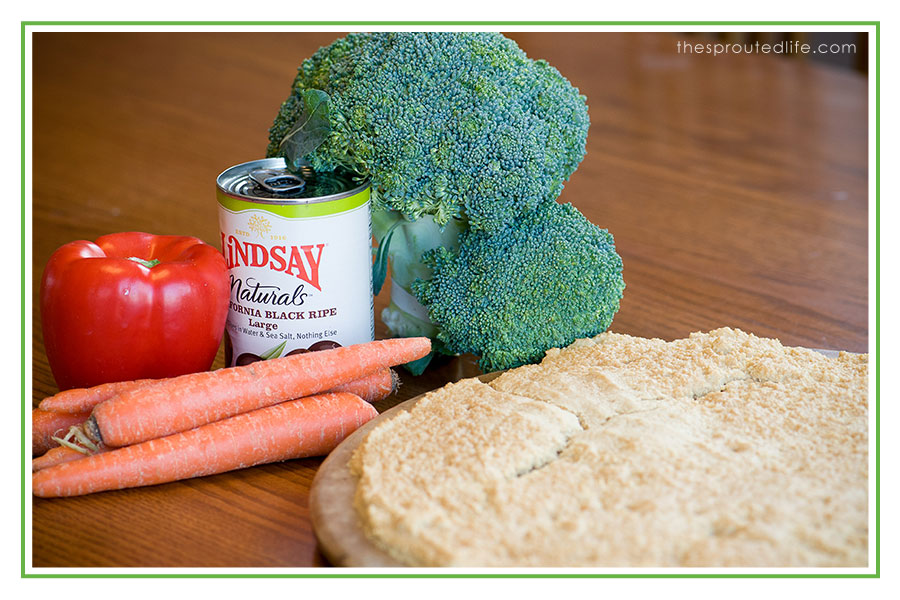
So we have had an overabundance of broccoli at our house. My husband and I mixed up items on our grocery list and on the same day I bought a few heads of organic broccoli from Earthfare (they have had it on sale all month for $0.99) and he bought two huge bags of organic broccoli florets at Costco. Our family loves it and we eat it just steamed as a side for dinner a lot, but steamed broccoli at every meal was getting old. So I decided to recreate one of my favorite childhood foods that my mom always made for get-togethers. Vegetable pizza, you know they type made on packaged Crescent rolls. Well, seeing that our family is gluten-free and pretty low grains, I decided to try a grain free version. It turned out yummy…only thing I would change is to spread the dough thinner.
grain free veggie pizza
Author: The Sprouted Life
Prep time:
Cook time:
Total time:
Ingredients
2 c. almond flour
1 c. arrowroot
1/2 c. water
2 eggs
2 T. olive oil
1 tsp. baking soda
1/2 tsp. celtic sea salt
chopped veggies of choice (i used broccoli, red bell peppers, black olives and carrots)
1 package of organic cream cheese 8oz. (I used organic valley)
1/2 cup organic full fat sour cream
2 T. gluten free ranch mix (i used Penzey’s ranch blend which is just spices, simply organic also makes one)
Instructions
Mix all the dough dry ingredients in a bowl (almond flour, arrowroot, baking soda, sea salt).
Add in eggs, water and olive oil and mix by hand.
It will be a wetter dough.
Spread evenly on a baking stone or a baking sheet lined with parchment paper.
I used a spatula and then put a little olive oil on my hand to help even press the dough.
Bake at 425 for 15-20 minutes until dough is starting to brown up (cooking time will vary a little with dough thickness).
Remove from oven and let cool.
Prep veggies while dough is baking, by chopping into small pieces.
Mix the sour cream, cream cheese and ranch mix.
Once dough is cool, spread cream cheese mixture evenly on top of the crust and then top with veggies.
By the time I get to Friday mornings, I have pretty much run out of inspiration for breakfast. While I typically eat a protein smoothie, I am always looking for ideas to feed my growing boys, that are loaded with healthy fats and fiber, but eggs get boring quickly and my oldest doesn’t love protein smoothies.
I am fairly adamant that my kids eat a hearty breakfast (not sugar and carbs), like the typical SAD (Standard American Diet) of cereal, toast, bagels etc. So finding variations can be challenging. One of their current favorite breakfasts are my little protein bites.
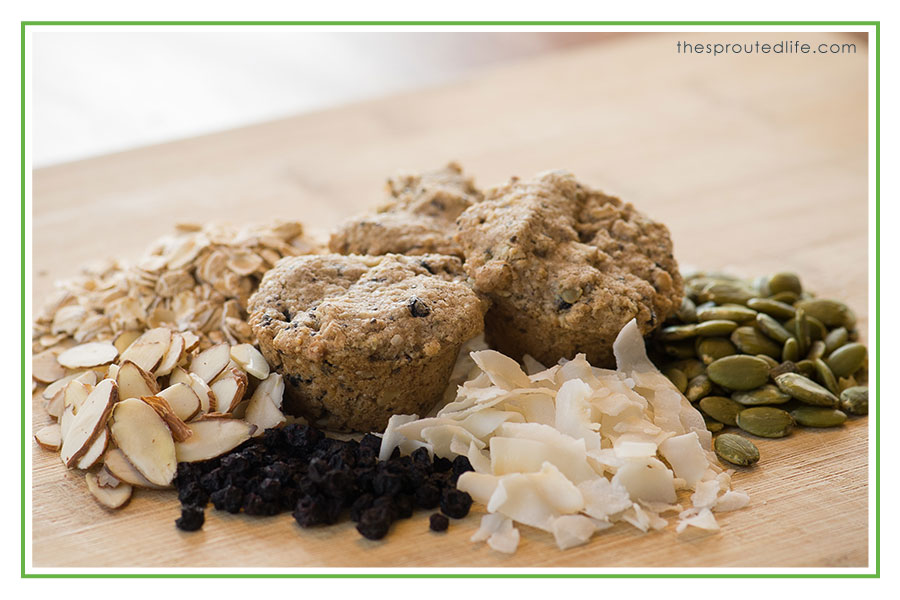
They are loaded with gluten free oats, pumpkin seeds, coconut flakes, dried blueberries, flax seed, chia seeds, sliced almonds and coconut oil. While they look like little muffins, they are actually dense, almost crumbly little bites, that pair wonderfully with coffee. Because of the fiber and fat, they are incredibly filling and can easily keep you fueled until lunch.
A few benefits are that they are easy to make, freeze well and can travel well as snacks. I almost always have all the ingredients on hand…besides the dried blueberries, but I live super close to our local Earth Fare and they always have them in their bulk food section. You can also easily substitute ingredients: chopped up dried apricots or dates, sunflower seeds, pecans etc. Be creative with them!
Protein Breakfast Bites
Author: The Sprouted Life
Ingredients
1 1/2 cups gluten-free rolled oats
1 1/2 cups gluten-free oat flour
1/2 cup wild blueberries
1/3 cup raw pumpkin seeds
1/3 cup shredded coconut
1/4 cup sliced almonds
1/4 cup + 1 Tbsp. ground flax seed
2 Tbsp. chia seeds
1/2 cup melted coconut oil
1/2 cup maple syrup
1 tsp. vanilla extract
1/2 tsp. celtic sea salt
Instructions
Preheat Oven to 350º F
Lightly grease a mini muffin pan with coconut oil (mine holds 32 muffins)
Add all the dry ingredients into a food processor and pulse a few times to incorporate them
In a separate bowl mix together remaining wet ingredients (coconut oil, vanilla & maple syrup)
Pour slowly into food processor and pulse until everything is well combined
Fill mini muffin pans and press mixture until it is well compacted and just below the top of the pan
Bake at 350º for 12-15 minutes, until lightly brown
Cool before removing from the pan
*If they are hard to remove, twisting them around in the pan in a circle typically releases them
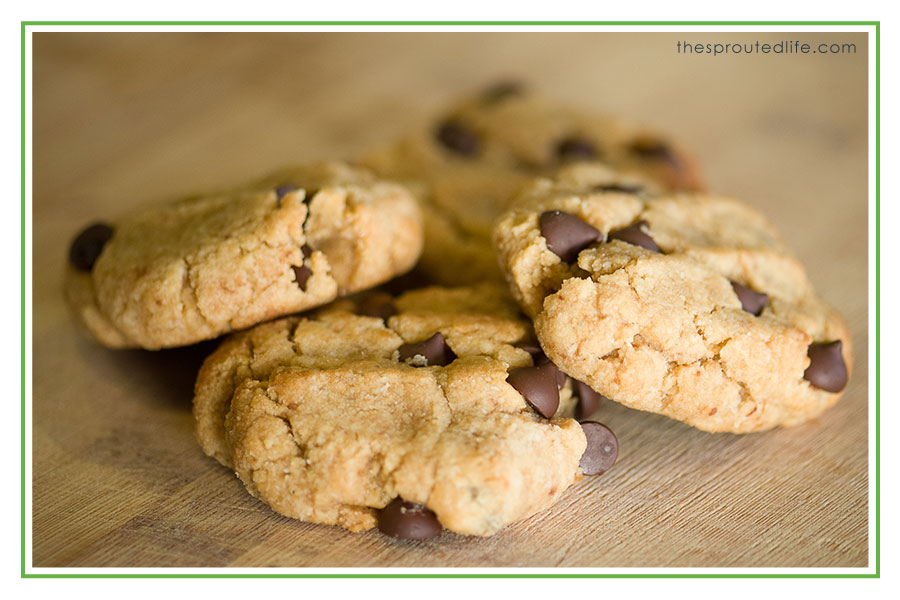
One of my favorite childhood memories was making chocolate chip cookies with my mom. We used to make the traditional Toll House recipe off the back of a bag of Nestle chocolate chips. While things have changed dramatically in our house from those day (no flour, no white sugar and I use organic, fair trade dark chocolate chips) I still cherish those memories, and l love sharing that tradition with my three little boys.
I have both of Danielle Walker’s Paleo Cookbooks: Against All Grain & Against All Grain: Meals Made Simple and to this day, they are two of my favorite cookbooks that I own (I have a slight cookbook addiction). I originally started making her real-deal chocolate chip cookies, but over time, just adapted it to better suit our families taste and to simplify – in my world, less steps and less dishes are always better. If you have never checked out her cookbooks, you should. She has lots of fun recipes and they are great inspiration.
A few of the changes I made was that I use coconut oil instead of palm shortening (which I don’t typically have on hand). I cut out the honey (you can add it back in if you want sweeter cookies, but if you do, omit the extra tablespoon of coconut oil – it was only added to add in a little extra moisture). I have made them adding in an extra egg, and no honey or extra tablespoon of coconut oil, and that variation works well also. I like this version best with just the coconut sugar, because it is just lightly sweetened. I also just mix the cookies by hand, my food processor is dying, and I found that I didn’t need to pull out an extra appliance.
Another thing to note is that these cookies don’t have a great self life, so if you plan to keep them a few days, throw them in the fridge. They do freeze well though.
Our Favorite Cookie – Paleo Chocolate Chip Cookies
Author: Adapted from Against All Grain Cookbook
Serves: 24
Ingredients
1/2 cup + 1 Tbsp of melted coconut oil
1/2 cup of coconut sugar
2 large eggs
3 teaspoons vanilla
3 cups blanched almond flour
4 Tbsp. coconut flour
1 tsp. baking soda
1/2 tsp. celtic sea salt
1 cup dark chocolate chips
Instructions
Preheat oven to 350 degrees F.
Mix together the melted coconut oil, coconut sugar, vanilla and eggs, until smooth.
Add in the almond flour, coconut flour*, baking soda and sea salt and mix again until combined.
Once well mixed, stir in chocolate chips
Roll into balls and slightly flatten on a baking sheet covered with parchment paper.
Bake 9-12 minutes until slightly brown on the edges.
*with coconut flour, I use a spoon and swirl mine through a mesh strainer to eliminate any clumps.
**if you would like to make your cookies sweeter, you can add in honey, (1 – 2 Tbsp). If you do add honey, omit the extra tablespoon of coconut oil.
3.5.3208
One of the great things about these cookies is that they are simple, quick and I literally always have all the ingredients on hand (most of these ingredients I buy from bulk sources anyway)
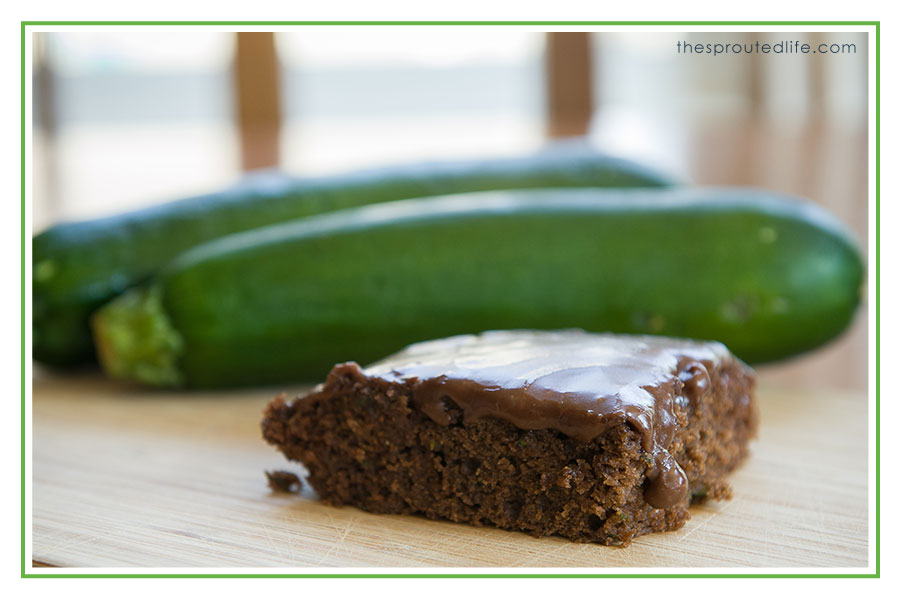
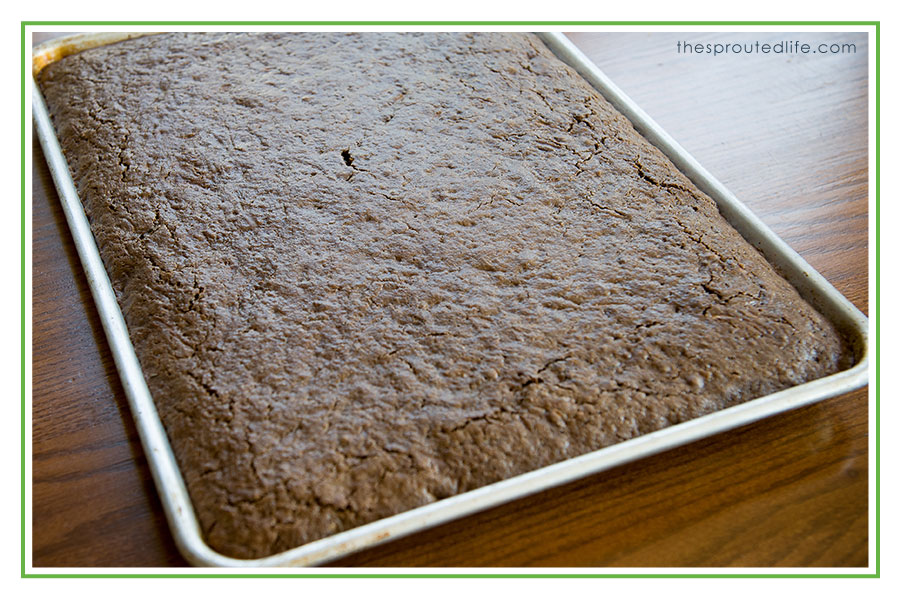
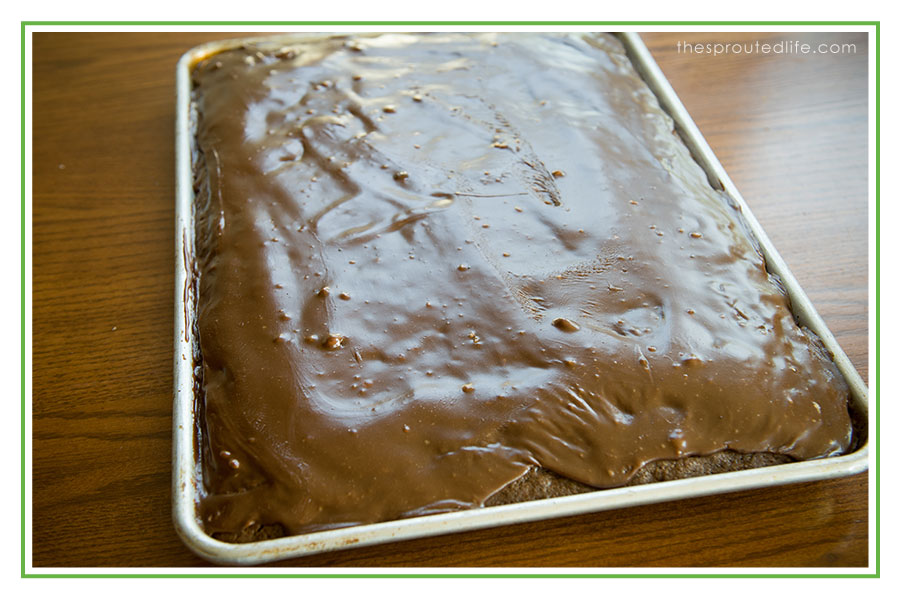
As summer came to close, so did our fabulous season of zucchini. I decided I needed to create one last baked item with our remaining supply. Chocolate is always a favorite in our house and a cake sounded just perfect. This is a pretty quick and easy recipe, the steps can look like a lot, but they are easy to follow. This cake is pretty similar to a traditional Texas sheet cake, but it is altered to work with a gluten-free flour blend. I prefer King Arthur’s Gluten-free flour blend (I buy mine from our local Earth Fare), but most gluten-free blends will work. What I love about the combination of zucchini in this recipe, is that it helps keeps the cake moist, which can be a common problem with gluten free baked goods. This recipe also freezes really well.
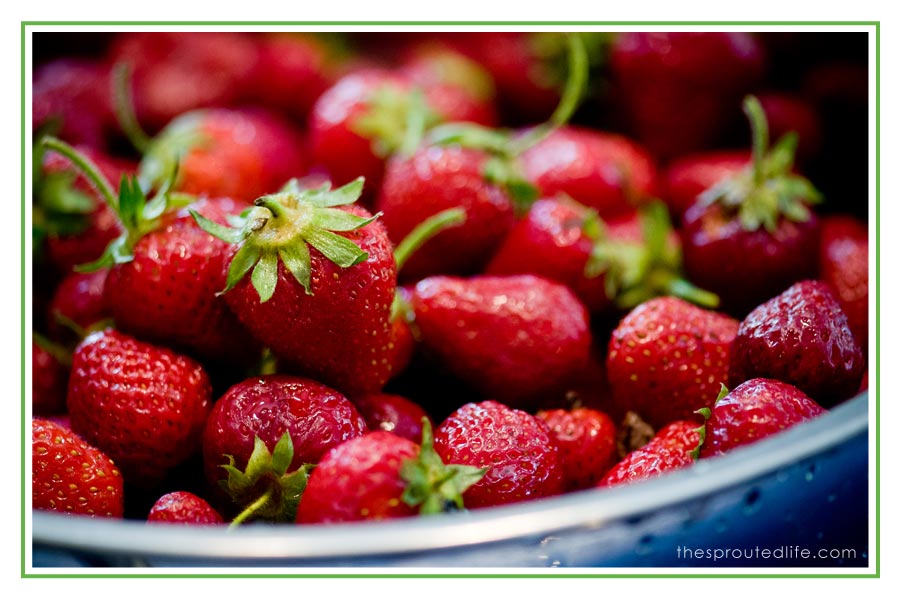
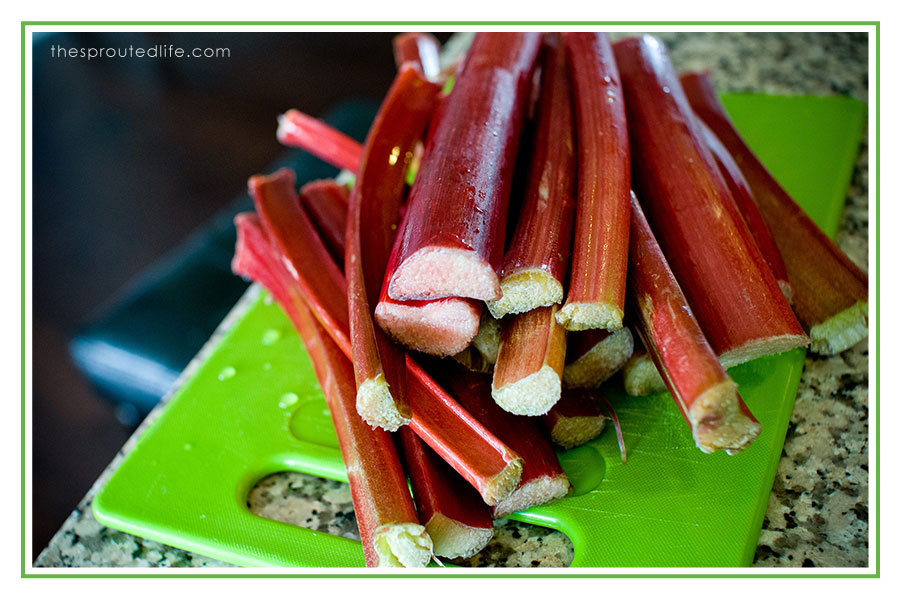
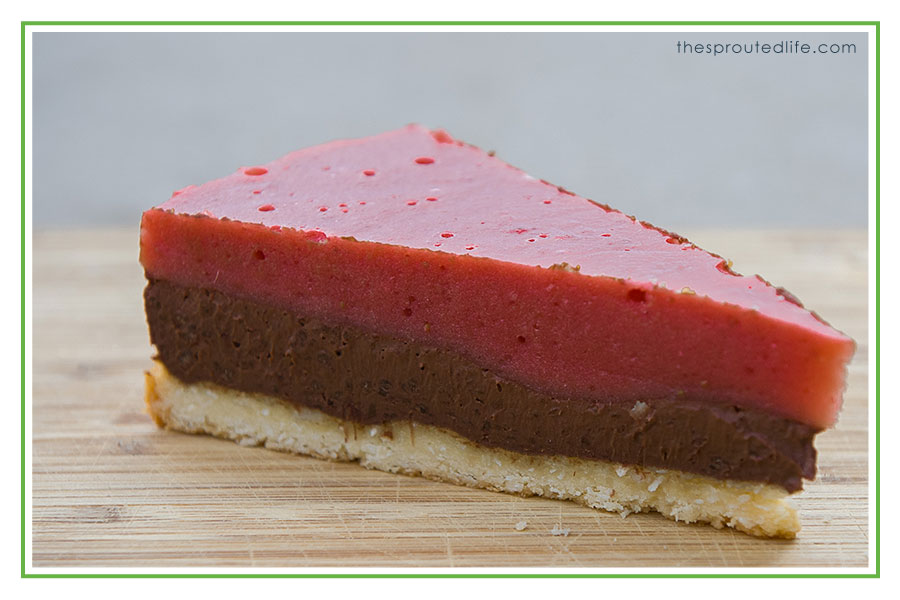
We had a pile of fresh rhubarb and fresh strawberries in front of us and we knew we wanted a dessert, but a crisp didn’t sound good. I looked at my husband and told him to figure out a compote style layer with the fruit and I would figure out the other layers. I right away grabbed my spring form pan, lined it with parchment paper and whipped up a almond flour (which was on sale this week at EarthFare) and coconut flour crust (it’s a common recipe that floats around in the paleo baking world). While that was baking, I started tossing chocolate and coconut milk in a pan to cook to make a chocolate cream layer. I tossed in Grassfed gelatin into the chocolate layer and into the compote layer to help it thicken up. We use grassfed gelatin for it’s gut healing properties, but any type gelatin would work (our favorite is Vital Proteins, but I also like Great Lakes Brand).
Our first time making this, I just threw some gelatin into the cooking fruit. I know better, but I did it anyway, resulting in clumps of gelatin. So we threw the whole mixture into our blender to fix that. What I envisioned as a “compote” layer of cooked fruit, became more of a smooth gelatin like layer, which ended up working perfectly. Our last minute, randomly thrown together dessert, ended up being a wonderful combination of flavors and has been made more than once this summer and was even made for Fathers Day to share with my family.
8 oz dark chocolate chips (for dairy free, make sure you check them)
2 Tbsp. cocoa powder
2 Tbsp. grassfed gelatin
For the Strawberry Rhubarb Gelatin Layer:
4 cups strawberries, chopped
2 cups rhubarb, chopped
1 cup of water
2 Tbsp. maple syrup
2 Tbsp. grassfed gelatin
Instructions
Preheat oven to 350
combine almond flour, coconut, coconut oil, maple syrup and sea salt in a food processor and pulse together until it begins to clump.
press dough into a spring form pan that has the bottom lined with a piece of parchment paper.
Bake for 12 -15 minutes until the crust is slightly browned.
Remove from oven and let cool.
move on to making the chocolate layer, by warming the coconut milk up in a pan on medium heat.
When the milk is warm, whisk in the cocoa powder, maple syrup and the chocolate chips.
Remove from heat and sprinkle the surface with your gelatin, add it slowly and let it absorb in off the surface and whisk it in before adding more. *you do not want to just dump it in, or you will end up with clumps* **if you do get clumps, just run the chocolate mixer through your blender.**
Once the gelatin is incorporated, pour the chocolate layer into the crust and place in the fridge.
Then move on to the strawberry rhubarb layer.
On medium- low heat, start cooking down the strawberries, rhubarb, water and maple syrup.
I let it cook down for about 20 minutes, until the fruit was starting to break down.
slowly add in the gelatin and then pour entire mix into your blender and gently blend until mixture is smooth. I let cool for a about 15 minutes in the blender.
Pour fruit mixture on top of chocolate layer and place back into the fridge to set up. I let mine sit for at least 2 hours.
When it is chilled, release the spring form pan and cut into slices.
Hi, I am Jennifer and I am a Functional Medicine Health Coach that is passionate about helping busy moms simplify their family & athletes’ health through clean eating & meal prep